
You must know how important it is to apply wall putty before applying paint on the wall. Wall putty gives a smooth surface to the wall and increases the life of paint. If you have any cracks or holes in your wall, then wall putty is a must. Although, it isn’t as easy as it sounds. There is a process to follow while applying wall putty.
There are a few basic steps that need to be followed when preparing walls for painting. Different types of wall putty are available on the market, so it is crucial to select the right one for your project. In this blog post, we will discuss the process of wall putty application.
Let’s get started.
What is Wall Putty?
Wall putty is a form of plaster used to create smooth surfaces on walls. It is usually applied before painting or wallpapering and provides a surface that paint can adhere to more easily. Wall putty is used to fill holes, cracks, or indentations in walls. It can also be used to smooth out uneven surfaces. Wall putty is usually applied before painting or wallpapering and provides a surface that paint can adhere to more easily. When looking for the best painting services, you must choose Berger Paints for excellent results.
Types of Wall Putty
Source: kdvr.com
There are two main types of wall putty White Cement Putty and Acrylic Wall Putty. White Cement wall putty is a pre-mixed product made with white cement, fine aggregates and polymer additives. It provides an excellent base for painting on both interior and exterior walls. Acrylic Putty is another type of wall putty that offers good results. This putty is made from acrylic emulsions, resin, fillers, and other ingredients. It gives a strong bond to the surface and has excellent water resistance.
Steps to Use Putty on Wall
Mentioned below are the steps to apply putty on the wall:
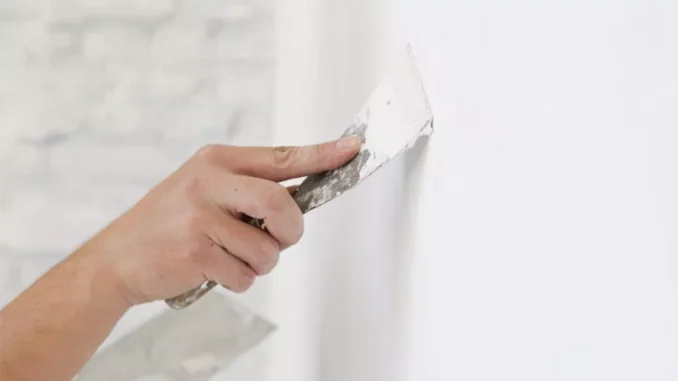
Surface Preparation
It is essential to have a clean wall surface before applying wall putty. Any dirt or grease on the wall will prevent the putty from adhering properly. The wall should be dry as well. If the wall is new, you may skip this step.
Use a damp cloth to wipe down the wall and remove any dust or debris. If there are any cracks or holes in the wall, use a putty knife to fill them in with spackling compound. Allow the area to dry completely before proceeding.
Mixing
Wall putty typically comes in a powder form and needs to be mixed with water to create a paste. Pour the wall putty powder into a bucket and slowly add water while stirring. Continue to mix until you have a smooth, consistent paste.
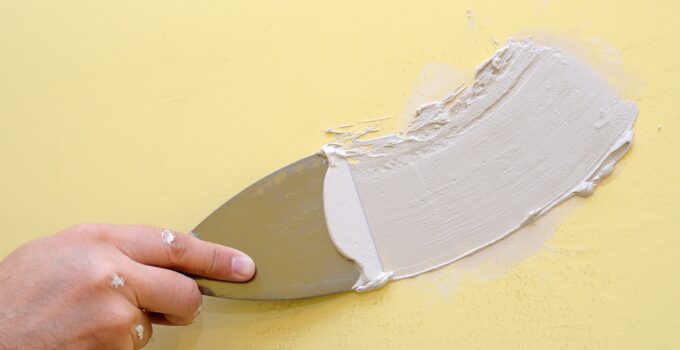
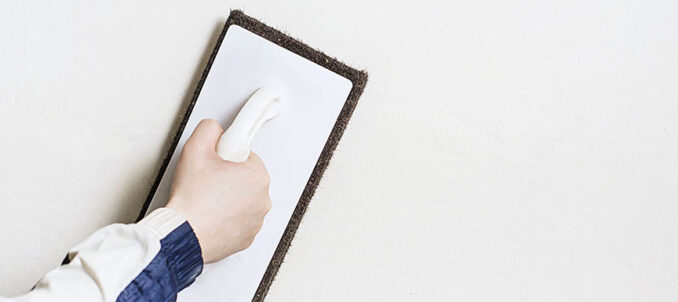
Application of Wall Putty
Source: housing.com
- Before applying putty to the wall, apply one layer of primer and let it cure for at least 12 and ideally 24 hours.
- With a putty blade, scraper, trowel, or other finishing tools, spread the first layer of putty vertically from “bottom to top.”
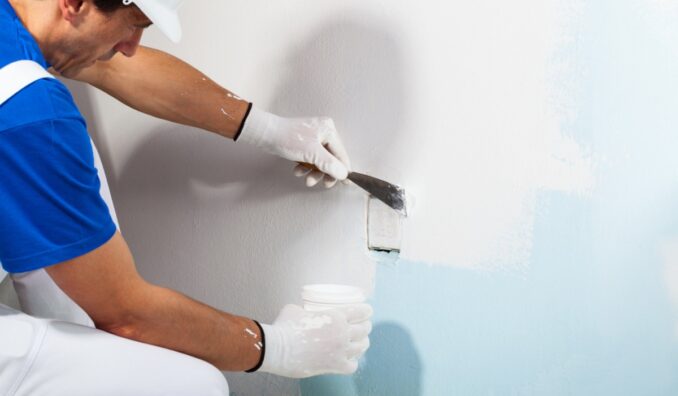
- Let the first coat thoroughly dry for at least 6 to 8 hrs, as Berger Paint recommends.
- Once it is dry, sand the wall with fine-grade sandpaper to create an even surface for the paint to adhere to.
- Repeat this process until the wall is smooth and even. Once satisfied with the results, you can begin painting your wall.
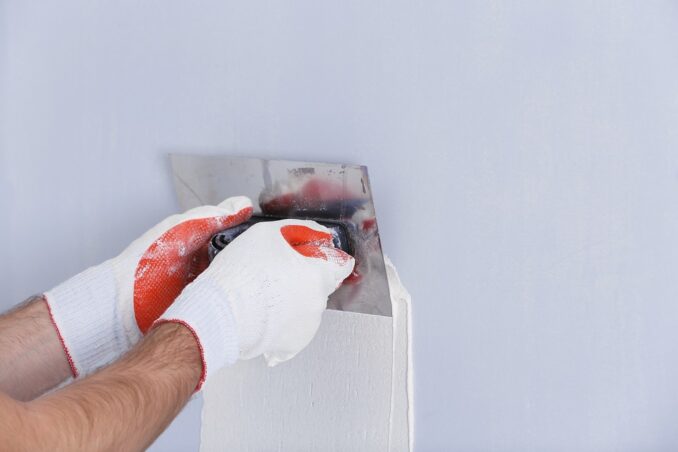
Benefits of Applying Wall Putty
Applying wall putty is a simple and easy task that anyone can do. It is important to follow the instructions given on the packet while applying wall putty. Make sure to apply wall putty in a well-ventilated room as it has strong fumes. Apply wall putty evenly on the surface using a clean cloth or brush.
Allow the wall putty to dry completely before applying paint on the surface. Mentioned below are the benefits of applying wall putty:
Multi-Purpose Application
One of the major benefits of applying wall putty is that it has a multi purpose application. Wall putty can be used on walls, ceilings, metal, glass etc. It acts as a perfect primer before applying paint on the wall surface.
It Provides an Even Surface
Source: indigopaints.com
If you have a wall with uneven texture, then wall putty is the best solution to provide an even surface before applying paint. Using wall putty, you can easily repair cracks and holes on the wall.
It Protects your Wall
Applying wall putty before painting is a barrier between the wall and protects it from dampness. Wall putty also helps increase the life of paint jobs done on walls.
Resistant to Moisture
Another benefit of wall putty is that it is resistant to moisture. This means that wall putty can be used in areas with high humidity levels like the kitchen and bathroom.
It can be Easily Removed
Wall putty can be removed easily without damaging the wall surface. You can remove wall putty by sanding the surface with fine sandpaper.
Increases Lifespan of Wall paint
Applying the wall putty before wall paint increases the lifespan of your wall paint. Wall paint peels off easily from surfaces not treated with wall putty.
Saves You Money In The Long Run
It is cheaper to apply wall putty before wall paint rather than having to repaint your walls every few years. Applying wall putty creates a smooth surface for the paint to adhere to and also fills in any cracks or imperfections in the wall’s surface.
The Bottom Line
Source: nerolac.com
Applying wall putty before painting is always a good idea. It gives the wall an extra layer of protection against wear and tear and can also help to even out the surface for a better paint job. If you’re not sure how to apply wall putty, or if you need help choosing the right type of putty for your project, talk to a professional at your local hardware store.
With a little planning and preparation, you’ll be on your way to a great-looking job in no time!We hope that this article has been helpful for you to understand the process of applying wall putty before painting.


